|
|
|
|
|
|
|
|
|||
|
|
 Cave
CaveHome |
 Cave
CaveEquipment |
Cave Printing TutorialStep 2: Open Your ImageNext step is to open your image in Photoshop. If your image file is currently stored on a server somewhere (artstream, dropbox, etc) or a portable storage device (CD, DVD, etc.), first copy the image file to the computer's local hard drive. You can do this by dragging your file from it's current location to anywhere on the Desktop. You can now open the image in Photoshop by dragging it onto the Photoshop icon in the Dock, or from within Photoshop, go up to the menu and choose "File--->Open..." What happens next will depend on the history of your image. One of three things could happen when you open your image. Either your image will open just fine, or you will see one of the following messages: 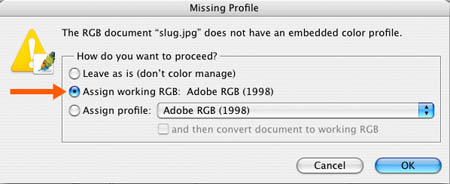
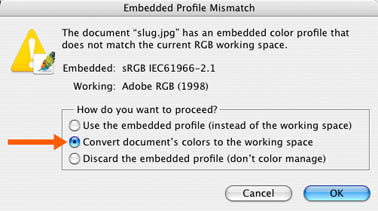
Depending on the message you receive, make your choice as indicated by the red arrows above. The goal here is to make sure that your image is assigned or converted to "Adobe RGB 1998," which is the correct working color space in The Cave. After clicking "OK" (or if you did not receive one of the messages above), your image should now be open. In this example, we're going to be printing a banana slug... 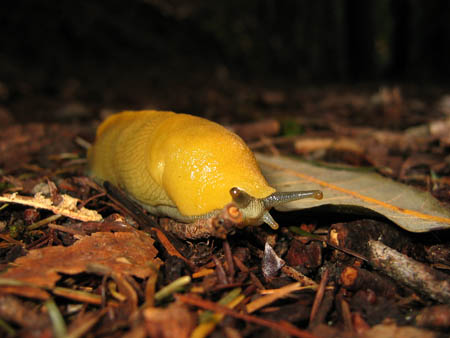
|
|
|||||
|
|
 Managing
Color |
 Tips &
Tutorials |
|||||||
|
|
 FAQ
FAQ |
 Cave
CaveRules |
|||||||
|
|
 Glossary
 |
 Send
SendMessage |
|||||||
|
|
 Art
ArtHome |
 UCSC
UCSCHome |
|||||||
|
|
|||||||||

